http://planetphotoshop.com/let-is-snow.html


Use your rectangular Marquee tool (M) and drag out a rectangle about half the height of the document. Command-J (PC Ctrl-J) will copy the white section from the background onto a new layer

convert into Smart Object
Convert that new layer from the selection into a Smart Object. This will be the base for all the legs of the snowflake. Double click on the new Smart Object layer to open up the .psb file.

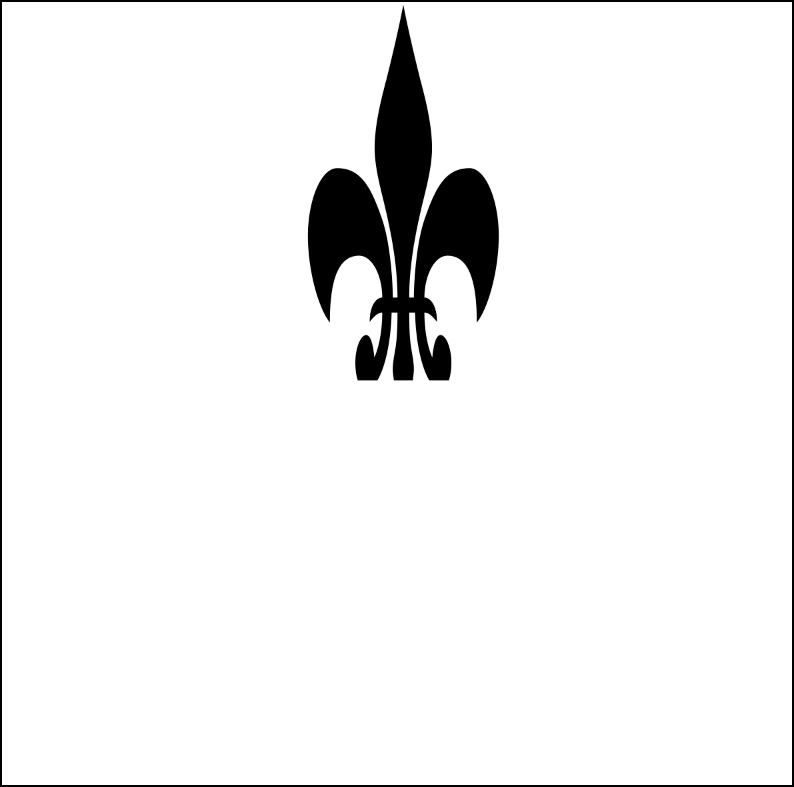
In the Smart Object window... use Fleur de Lis shape
Now grab the Fluer de Lis from the custom shapes tool and drag out the shape… you can decide to have it floating or have the base of it cut off like this one. The bottom edge of the frame is going to be the center fo the snowflake, so minute changes there can really affect the look of the flake. If you don’t have all of the shapes available… go up to the icon in the upper right of the shapes panel and click to bring up the drop down menu. Choose All and hit OK.
Saving in the Smart Object window means changes show up in the Snowflake document
Once you have the shape placed where you want it, Command-S (PC Ctrl-S) will save the changes to the .psb (Smart Object) and that will show up in your Snowflake document. (You don’t have to close the .psb file unless you want to. I leave it open to make changes on the fly… but if you mess up or the link between the open .psb file and your original document get messed up, then just close the .psb file and double click on the Smart Object layer in the Snowflake document to open up a new refreshed Smart Object window to make any new changes.)

Copy and rotate Smart Object 180 degrees
Command-J (PC Ctrl-J) will allow you to copy the Smart Object and then Command-T(PC Ctrl-T) to Transform it. Right Click and choose Rotate 180 degrees form the drop down menu. Drag the rotated shape down beneath the original while holding the Shift key to keep it constrained on line.
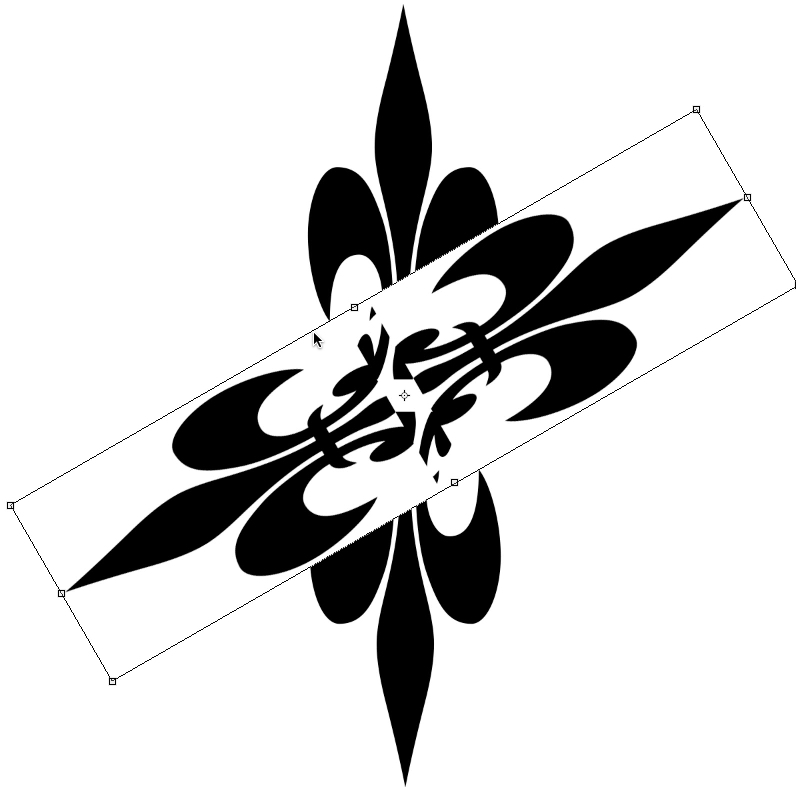
Copy both layers and rotate 60 degrees
Select both Smart Object layers and then Command-J (PC Ctrl-J) will make a copy. Use Command-T (PC Ctrl-t) to bring up the Transform handles. Up in the Options bar at the top type in 60 to the degrees window to rotate the two shapes 60 degrees. Change the blending modes of the new layers to Multiply so only the black shows through.
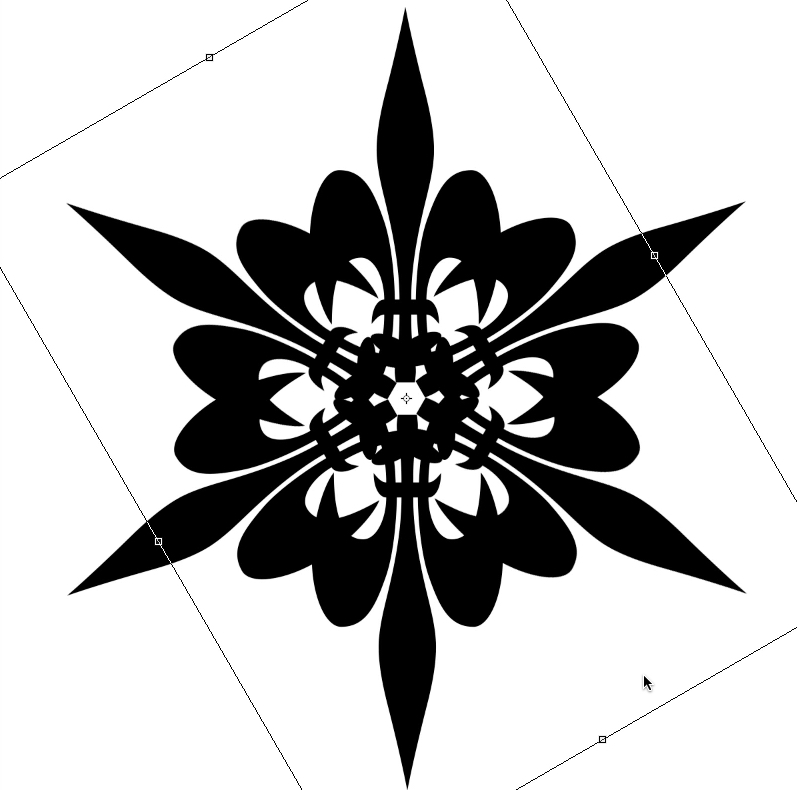
Repeat step one more time to complete snowflake
Repeat this last step one more time but change the rotation to 120 degrees if it doesn’t line up correctly with 60 degrees. Hit Enter twice to apply changes and your snowflake is ready.

Adding a couple of white dots/circles to the Fleur de Lis in the Smart Object window
What make this technique so handy, is that each leg of the snowflake is made from the same Smart Object, so a change to the original Smart Object will populate throughout the snowflake. It is like you have your own Kaleidoscope maker in a sense. Try adding black and white shapes and brushes to create a myriad of different looks.

The white dots instantly change the snowflake when the .psb file is saved

No comments:
Post a Comment